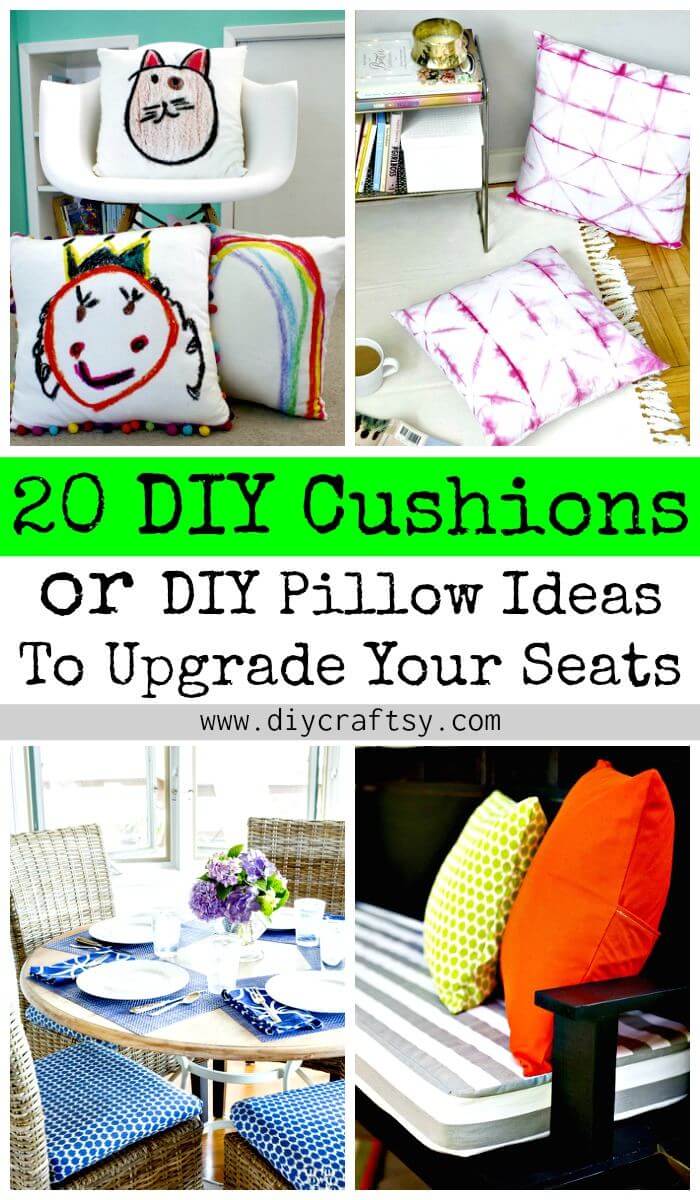
Every time you need to add some fun to a sitting chair, couch or bed, you just throw some pillows and cushions over it! If come with enchanting covers, the cushions and pillows would also be a smart way to bring some enticing colors to your sitting furniture items! So, if you are also willing to combine the wooden furniture elegance with high-value comfort then cushions would definitely be a must-have item! If you are interested in doing DIY projects then you can also make outstanding cushions at home using your creativity! Just to give a boost to your creativity, we have brought here these 20 easy DIY Cushions or DIY Pillow Ideas that would definitely make you enjoy a great sitting experience along with giving a sophisticated look to your sitting furniture items! These homemade cushions would just be an ideal choice to soften the hardness of any sitting chair or couch and will be super cost-effective to make!
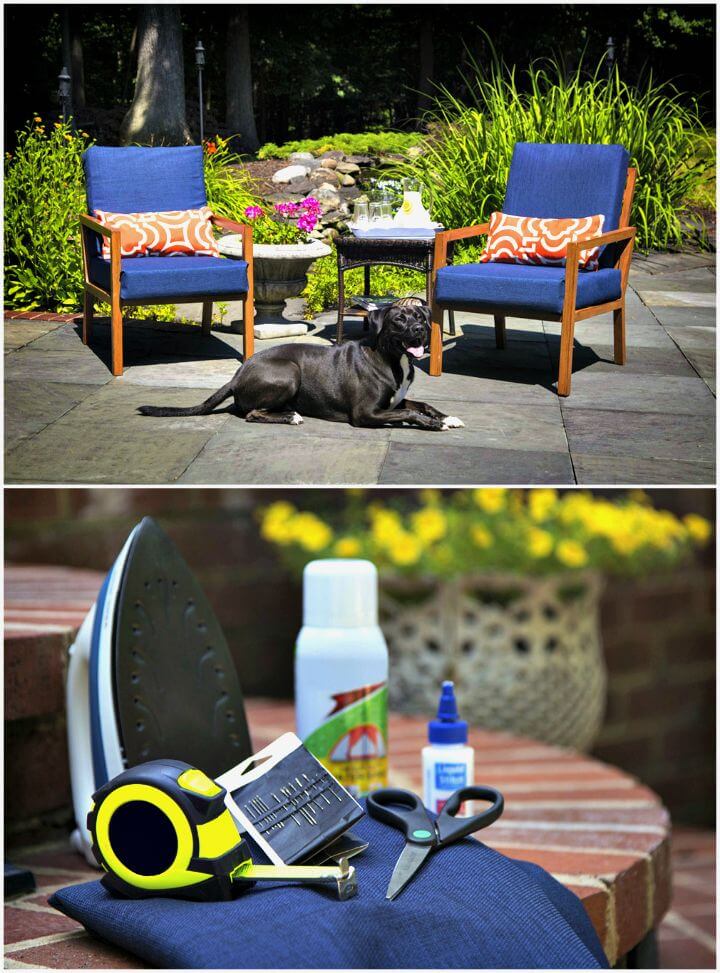
Sew the bigger seat cushions for your outdoor sitting couch and sitting sets, have a look at the given sample that comes with fade lined cover and has been stuffed with heavy duty and dense foam sheet! If you just love to sit around your sewing machine then these cushions and pillows projects are going to be a big fun for you! Here all you need is to sew some cushion covers using your favorite printed fabric and next you can simply stuff you’re finally sew cushion cover with batting, wood, paper pieces and also with foam to make outstanding cushions and seat mattresses at home! Check out some various interesting samples given below in the list that would definitely inspire your creativity!
Moreover, the list will also guide you that you can add some fab upholstered cushions to your chair berths and coach seats without getting expensive! This would just demand you to be a little upholstering expert and if you are, then the entire upholstering project would be a piece of cake for you! Next, you can also make beautiful custom styled cushions also at home, an interesting sample here is the shibori cushions that have been dipped dyed for magnificent pink line art!
This given collection of DIY cushion ideas and projects will also encircle the ideas that how you can sew beautiful covers for every custom cushions and you will also get great tips about how to make bench and window seat cushions at home without getting a bit expensive! There are also various idea in the list about making fun cushions and artful lettered cushions at home that are sure to bind you under their creative spell! Finally, you will also be pleased by giving some no-sew cushion ideas that have also been beautifully showcased in the collection are damn creative!
Just browse the entire collection of these DIY cushion projects and see much more interesting stuff! Free tutorials and picture instructions for each showcased DIY cushion project have been given in form of source links that are attached to each picture idea!
DIY home decor ideas you may love:
- 45 Easy DIY Dog House Plans & Ideas You Should Build This Season
- 15 Unique DIY Lamp Ideas To Light up Your Home Creatively
- 25 Easy DIY Key Holders and Rack Ideas
- 25 Smart and Easy DIY Gift Ideas to Please Your Friends
- 75 DIY Table Makeover Ideas to Upgrade Your Tables
- 240 Easy Craft Ideas to Make and Sell
- 130 Easy Craft Ideas Using Mason Jars for Spring & Summer
- 15 DIY Ladder Planter Plans – DIY Vertical Planter Ideas
- DIY Desk Plans – Top 44 DIY Desk Ideas You can Make Easily
- 110 DIY Backyard Ideas to Try Out This Spring & Summer
- DIY Garden Projects – 101 DIY Ideas to Upgrade Your Garden
- 100 Ultimate DIY Entryway Ideas That You Can DIY Easily
How To Make Your Own Outdoor Cushions Tutorial:
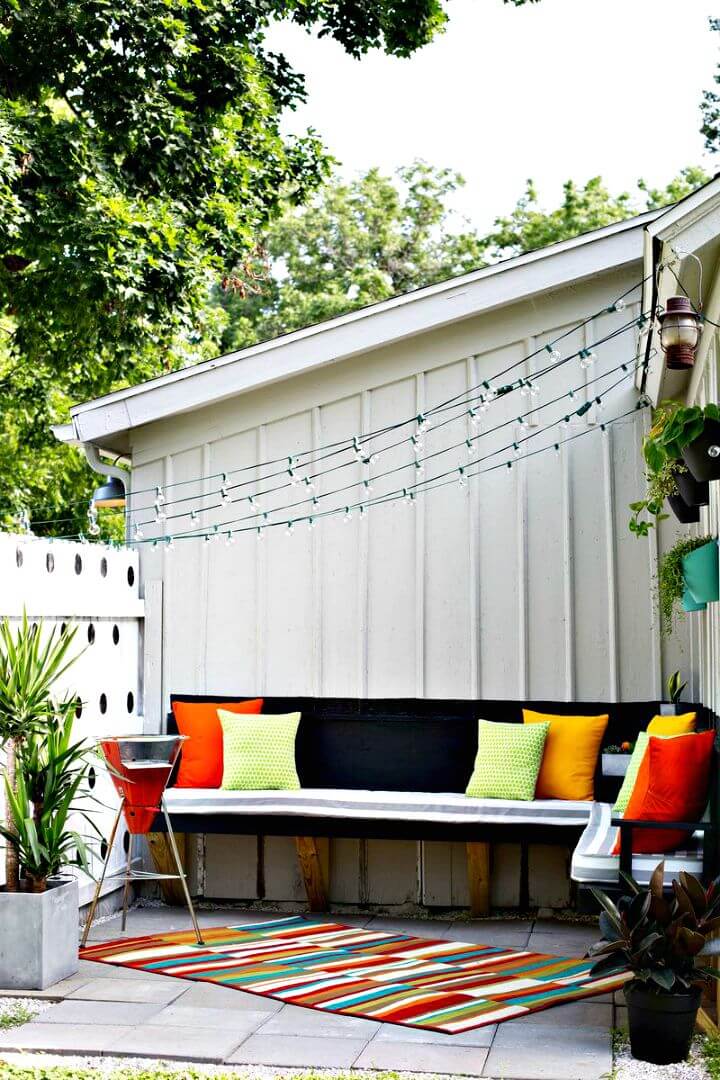
DIY Instructions Here: abeautifulmess
Easy Sew Outdoor Cushion Tutorial:
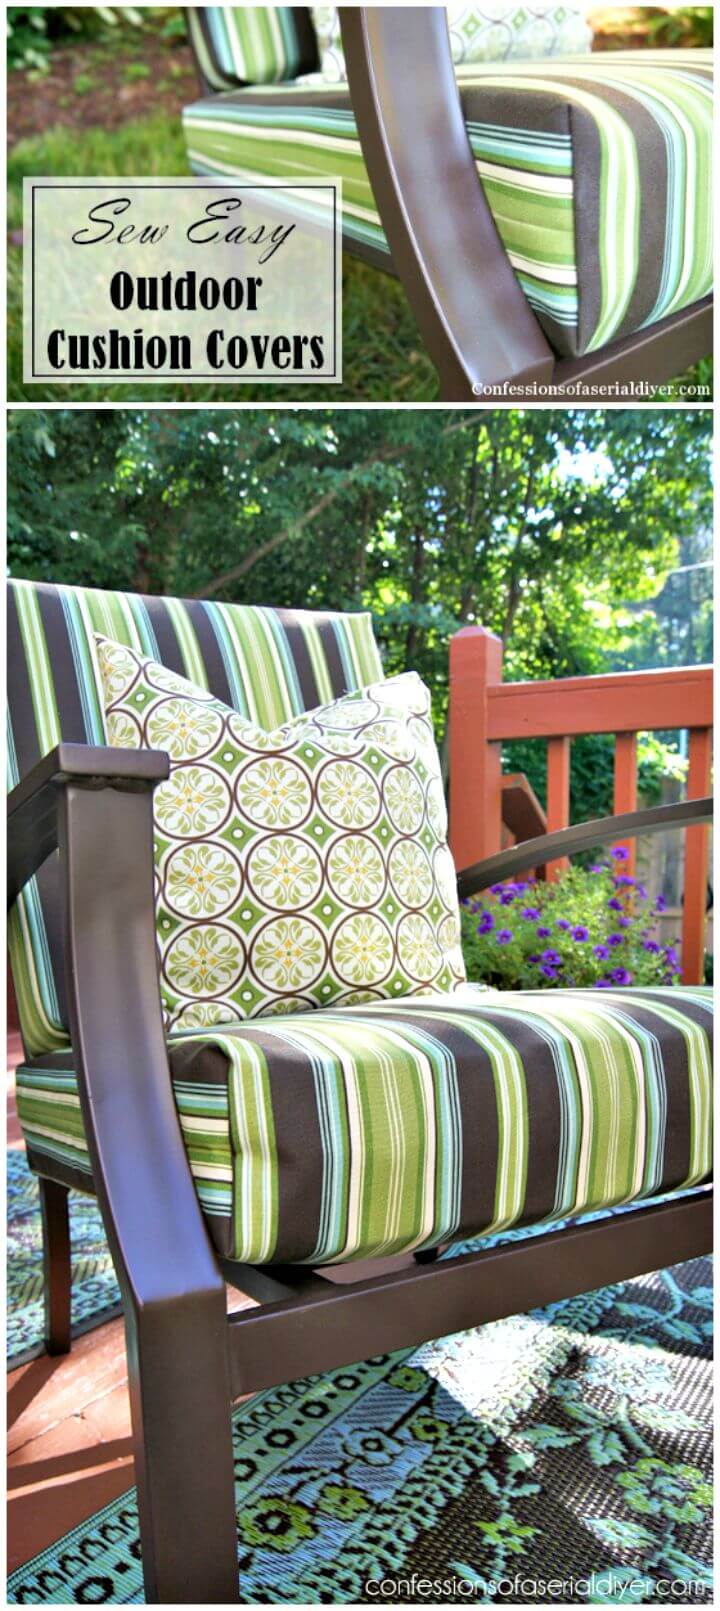
DIY Instructions Here: confessionsofaserialdiyer
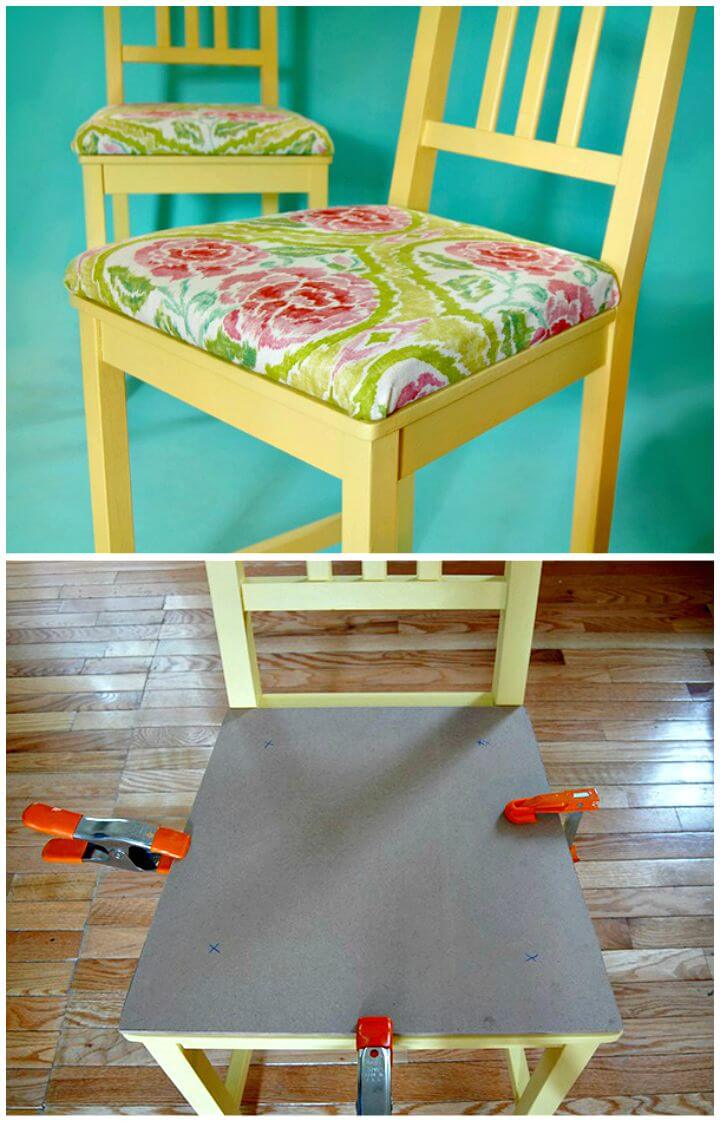
DIY Chair Cushions For Kitchen Tutorial:
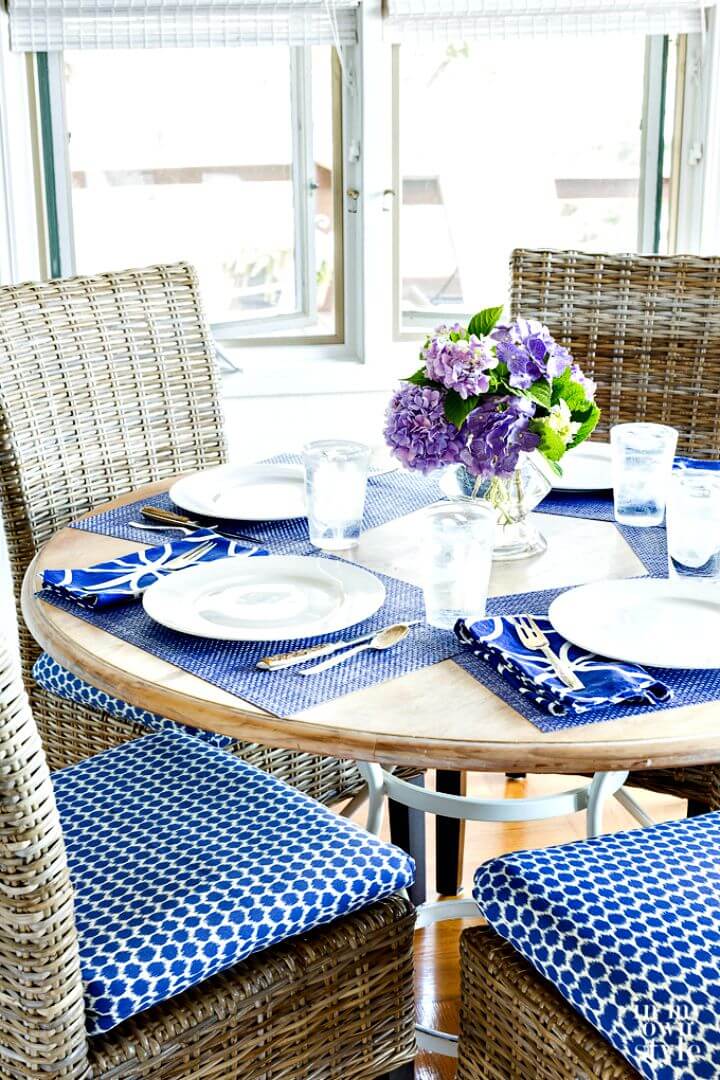
DIY Instructions Here: inmyownstyle
How To Add Upholstered Cushions To Chairs Tutorial:
DIY Instructions Here: eatknitanddiy
DIY Pink Shibori Cushions Tutorial:
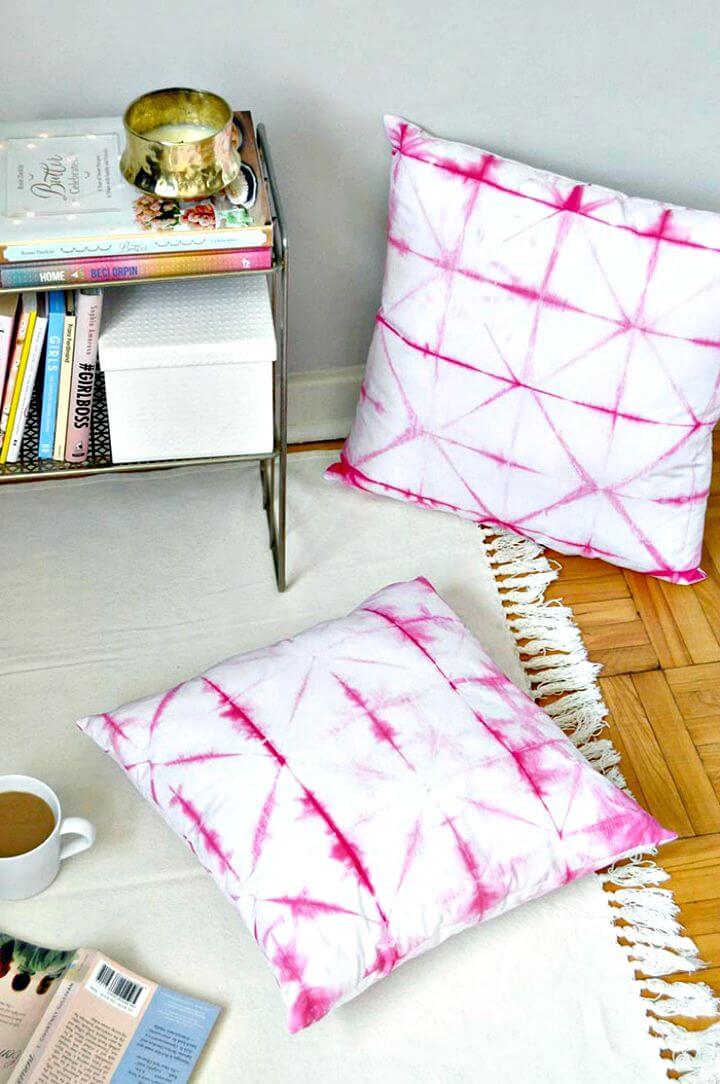
DIY Instructions Here: designsponge
DIY Cushions for Tiny House Storage Sectional Tutorial:
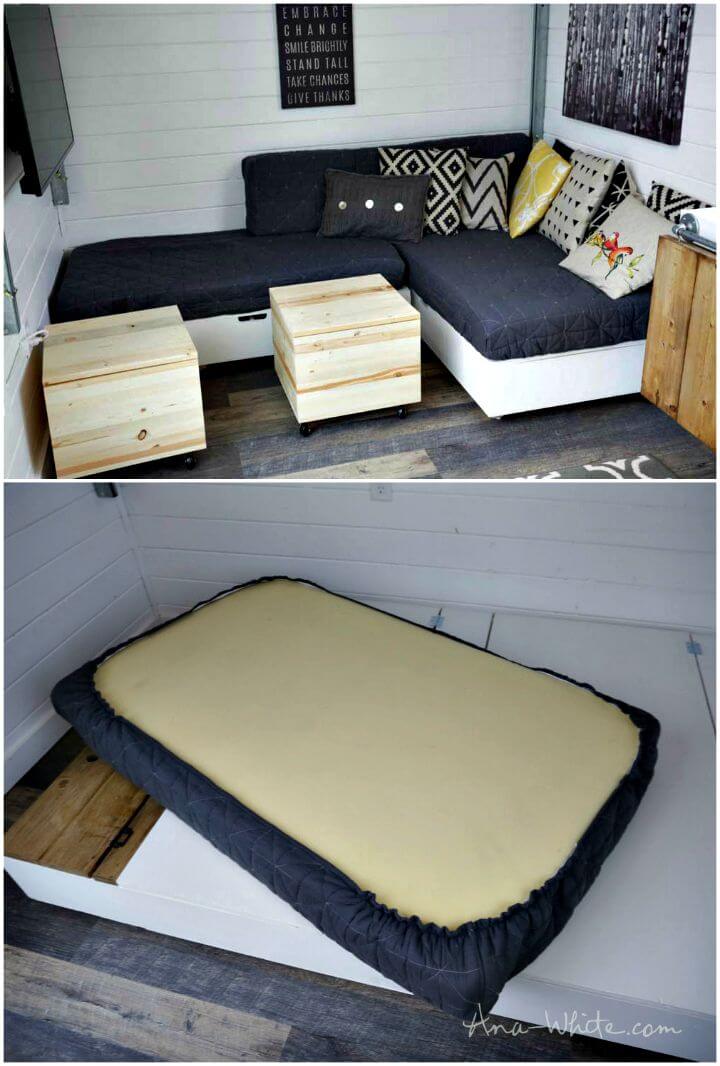
DIY Instructions Here: ana-white
Easy DIY Window Seat Cushion Tutorial:

DIY Instructions Here: mrkate
Easy DIY Outdoor Cushion Covers Tutorial:
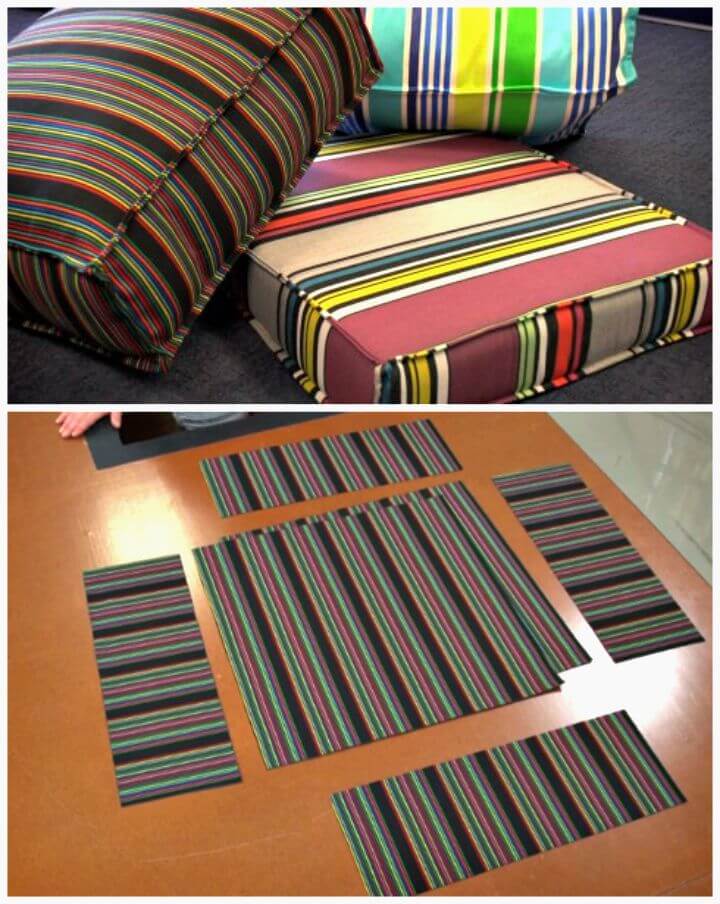
DIY Instructions Here: youtube
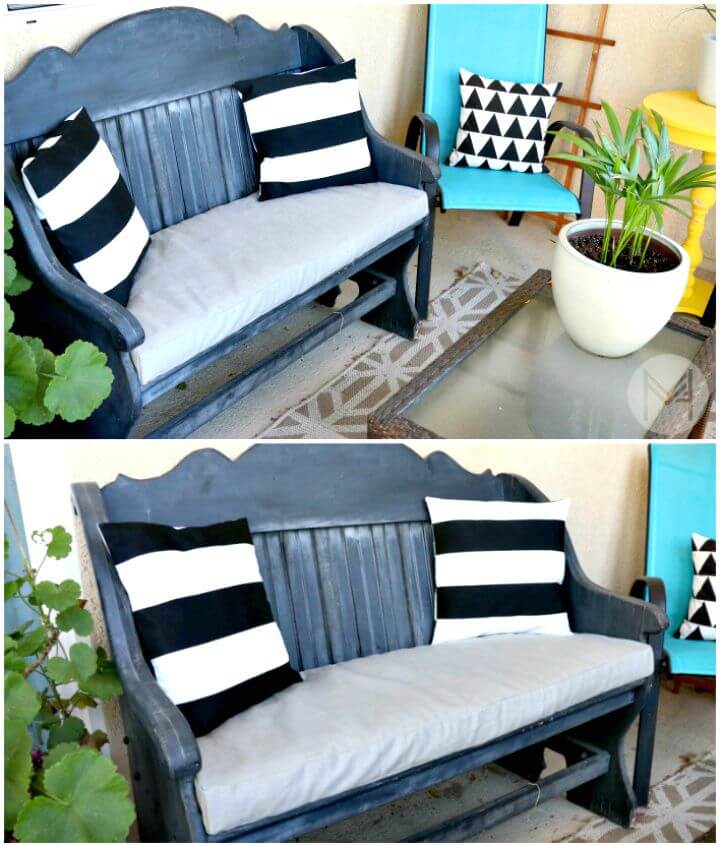
Easy DIY Bench Cushion Tutorial:
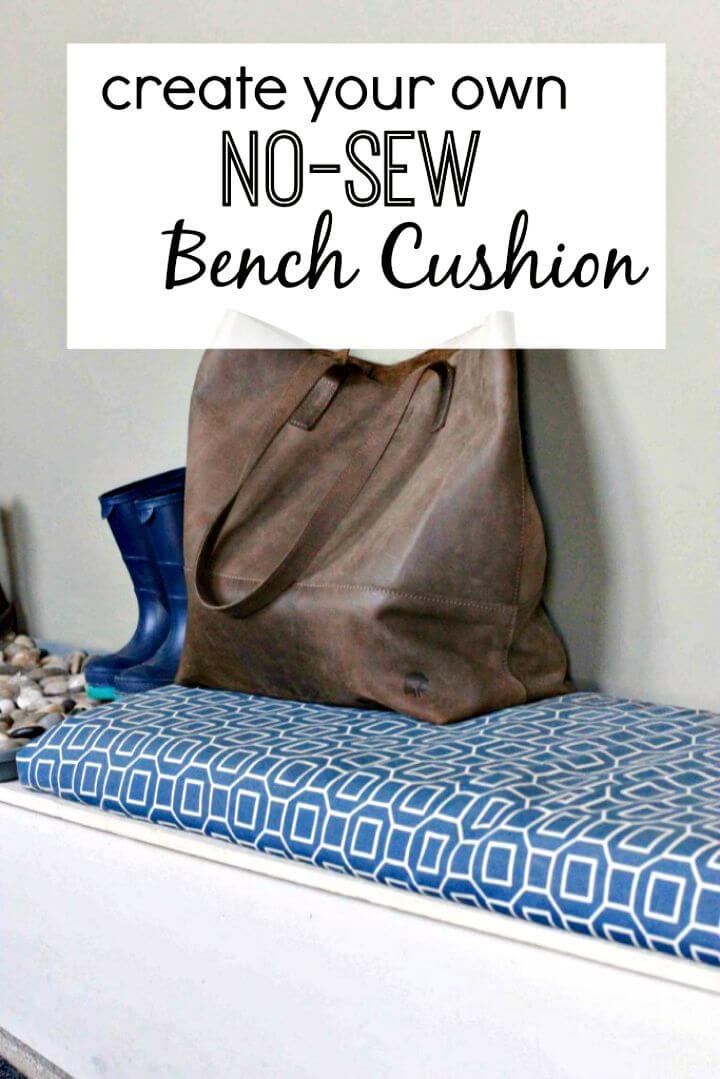
DIY Instructions Here: homestead128
Easy No-Sew Round Seat Cushions Tutorial:
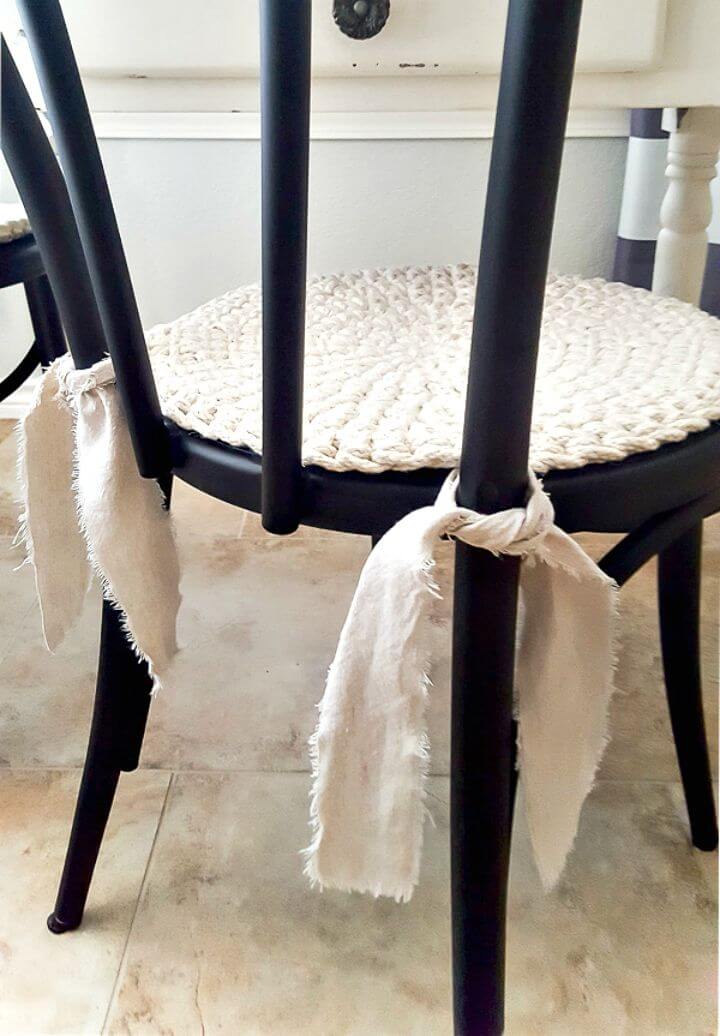
DIY Instructions Here: diybeautify
Easy DIY Cushion Tutorial:
DIY Instructions Here: liveabode
How To Make An Envelope Cushion Cover Tutorial:
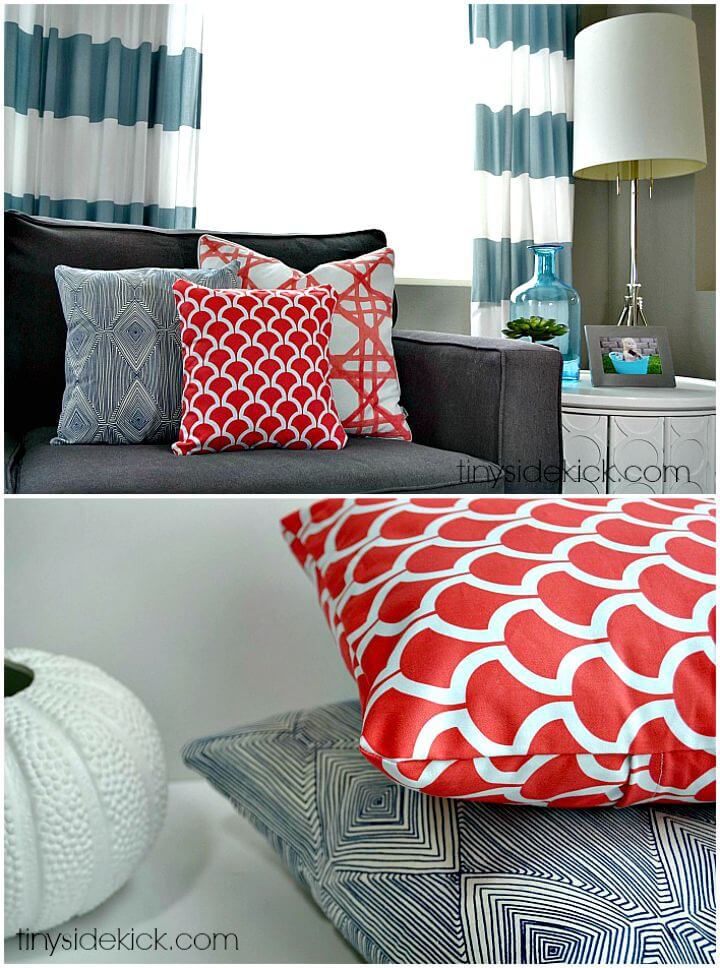
DIY Instructions Here: heytherehome
DIY Cushion Covers for Fall Tutorial:
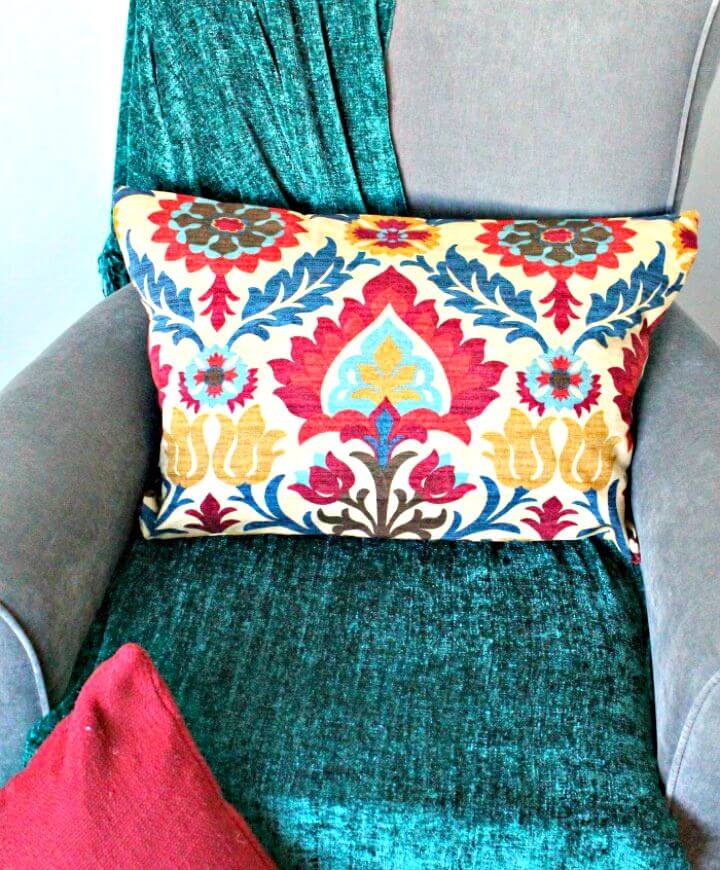
DIY Instructions Here: faeriesandfauna
Simple DIY Outdoor Chair Cushions:
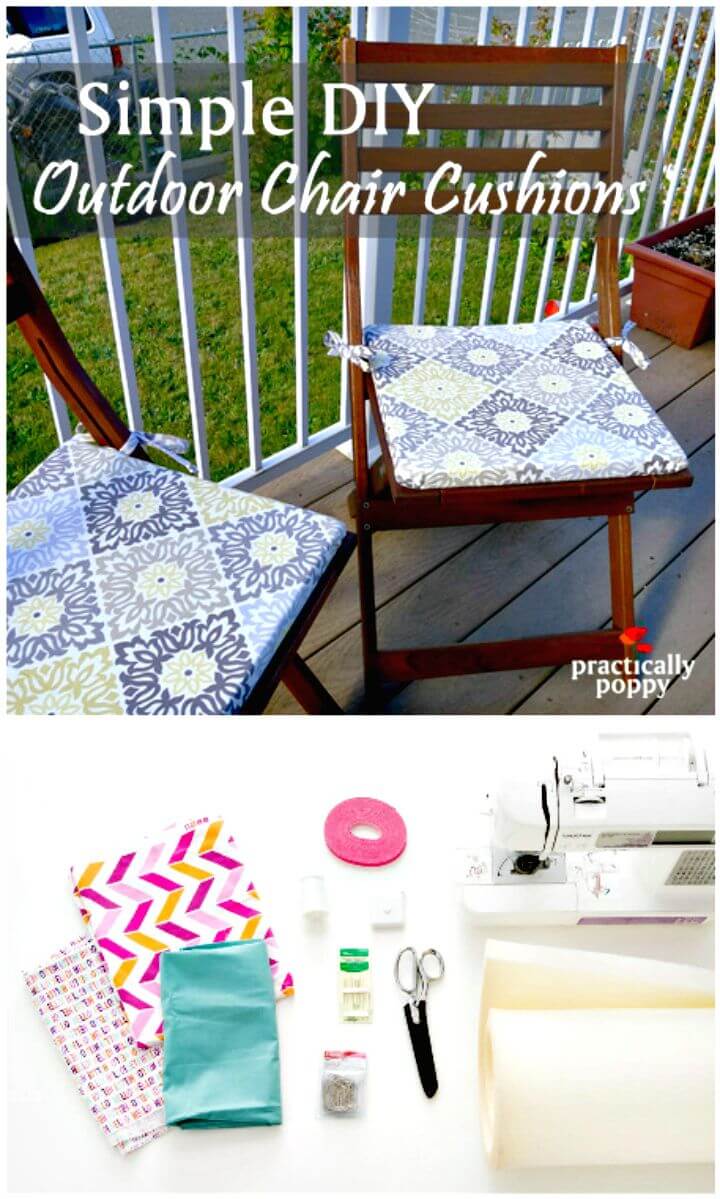
DIY Instructions Here: brit
How To Tuftbutton Your Ikea Karlstad Cushions:
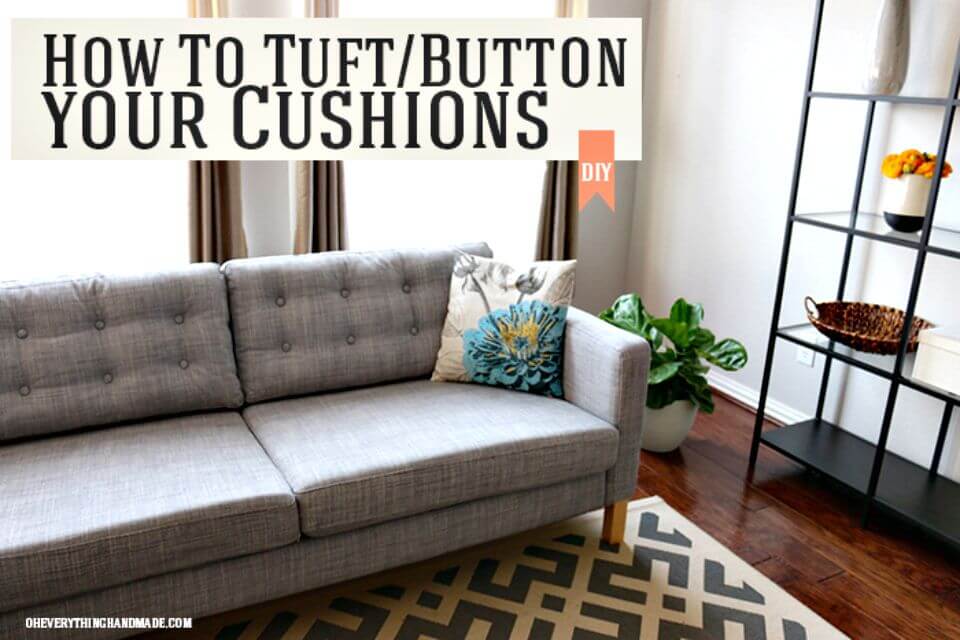
DIY Instructions Here: oheverythinghandmade
How To Make Your Own A Cushion Letter Tutorial:
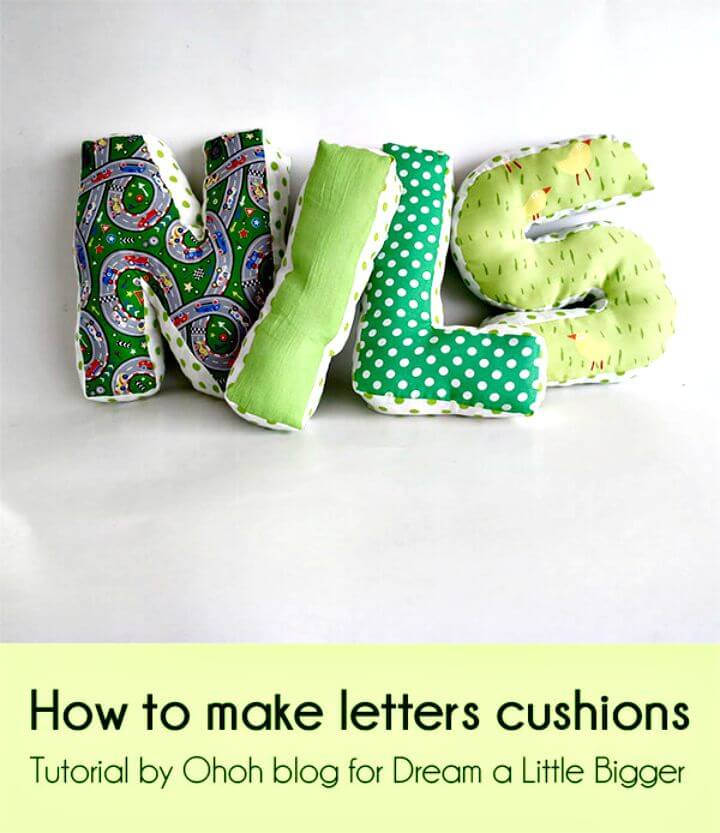
DIY Instructions Here: dreamalittlebigger
Easy DIY Funny Cushions Pattern:
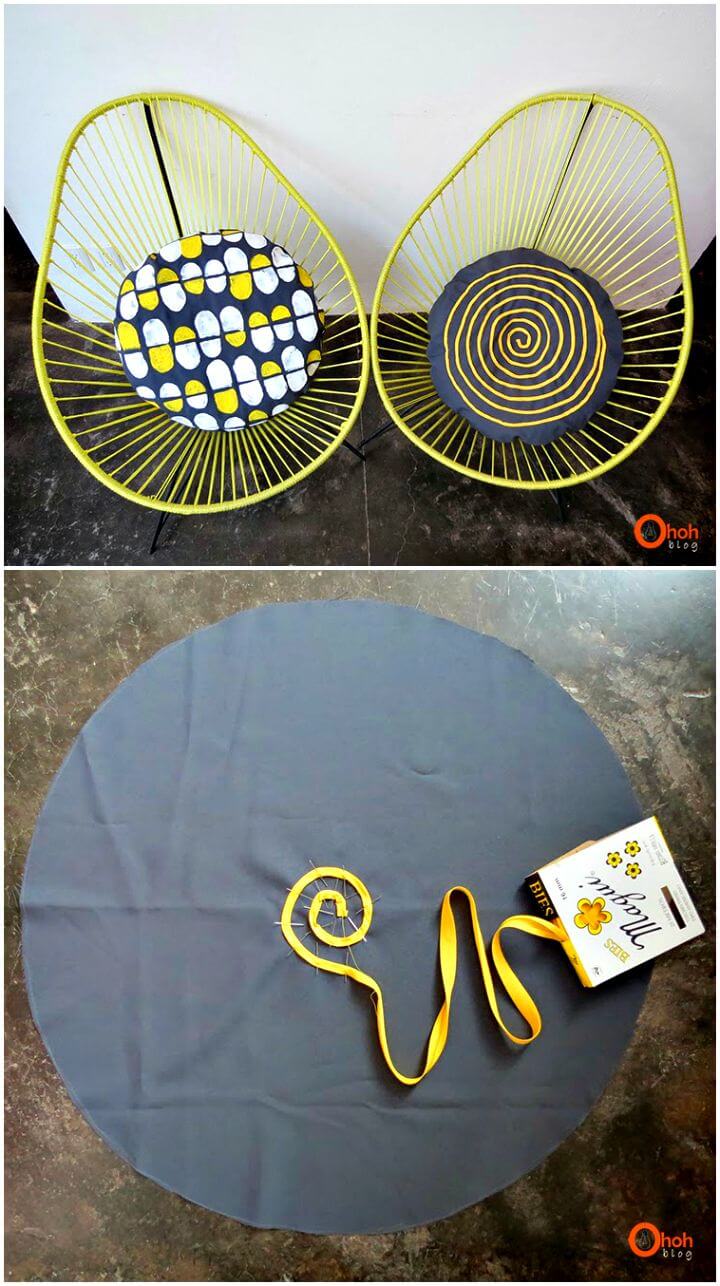
DIY Instructions Here: ohohblog
Simple DIY Round Cushion Tutorial:
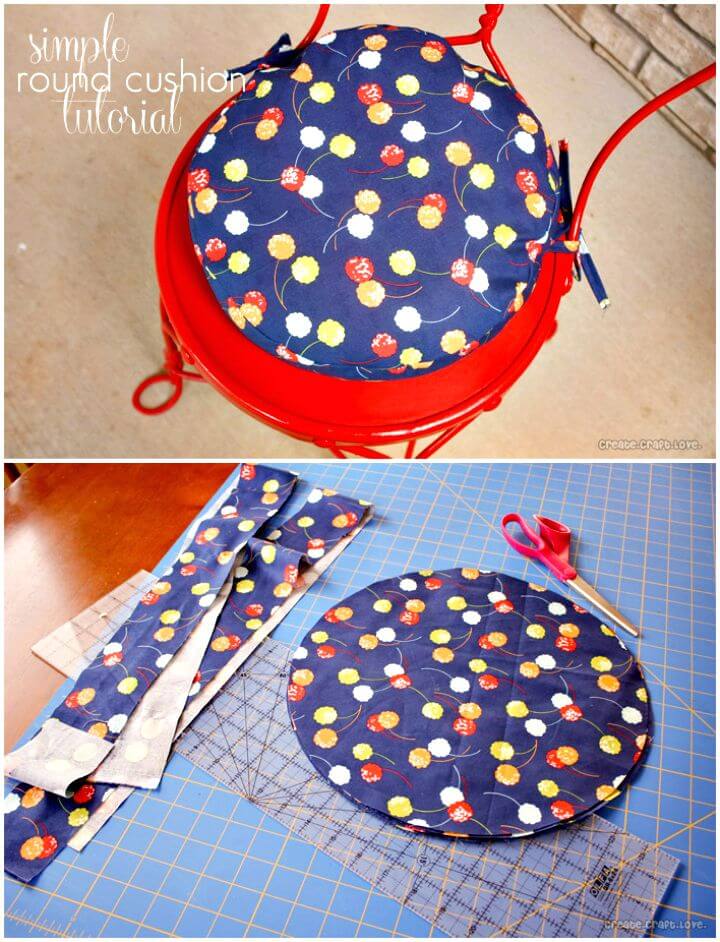
DIY Instructions Here: createcraftlove
Easy DIY Minky Cushions Tutorial:

DIY Instructions Here: spoonflower
How to Sew a Washable Bench Cushion in 2 hours:
DIY Instructions Here: melaniekham
Related DIY Ideas to Try:
 25 DIY Bench Cushions: Make a Bench Seat Cushion
 DIY Garden Projects – 101 DIY Ideas to Upgrade Your Garden
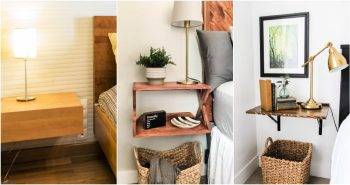 25 DIY Floating Nightstand Ideas for Bedroom Upgrade
 25 DIY Banquette Seating Plans (Build a Storage Bench)
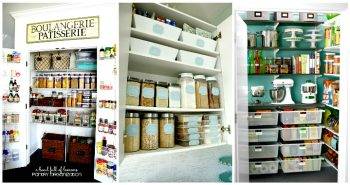 60 Best Pantry Organization Ideas – DIY
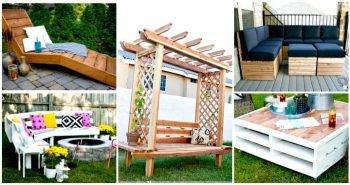 30 DIY Outdoor Furniture Plans and Ideas for 2022 (Updated)
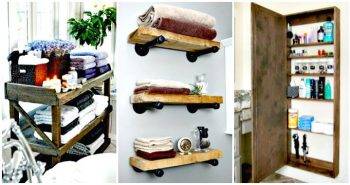 30 Unique DIY Bathroom Storage Ideas You Must Try
 25 Easy to DIY Swing Ideas & Plans (Bed, Chair, Bench)
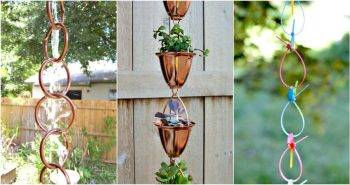 25 DIY Rain Chain Ideas – Make Your Own Rain Chains
 30 Easy DIY Projects and Ideas to Do at Home
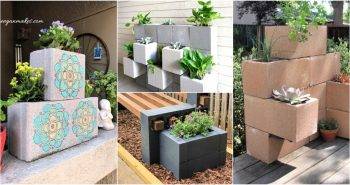 22 DIY Cinder Block Planter Ideas You Can Make
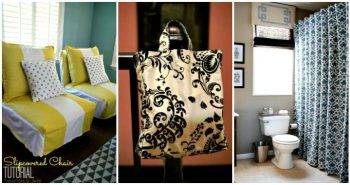 15 Ideas to Repurpose Old Curtains in Home Decoration